
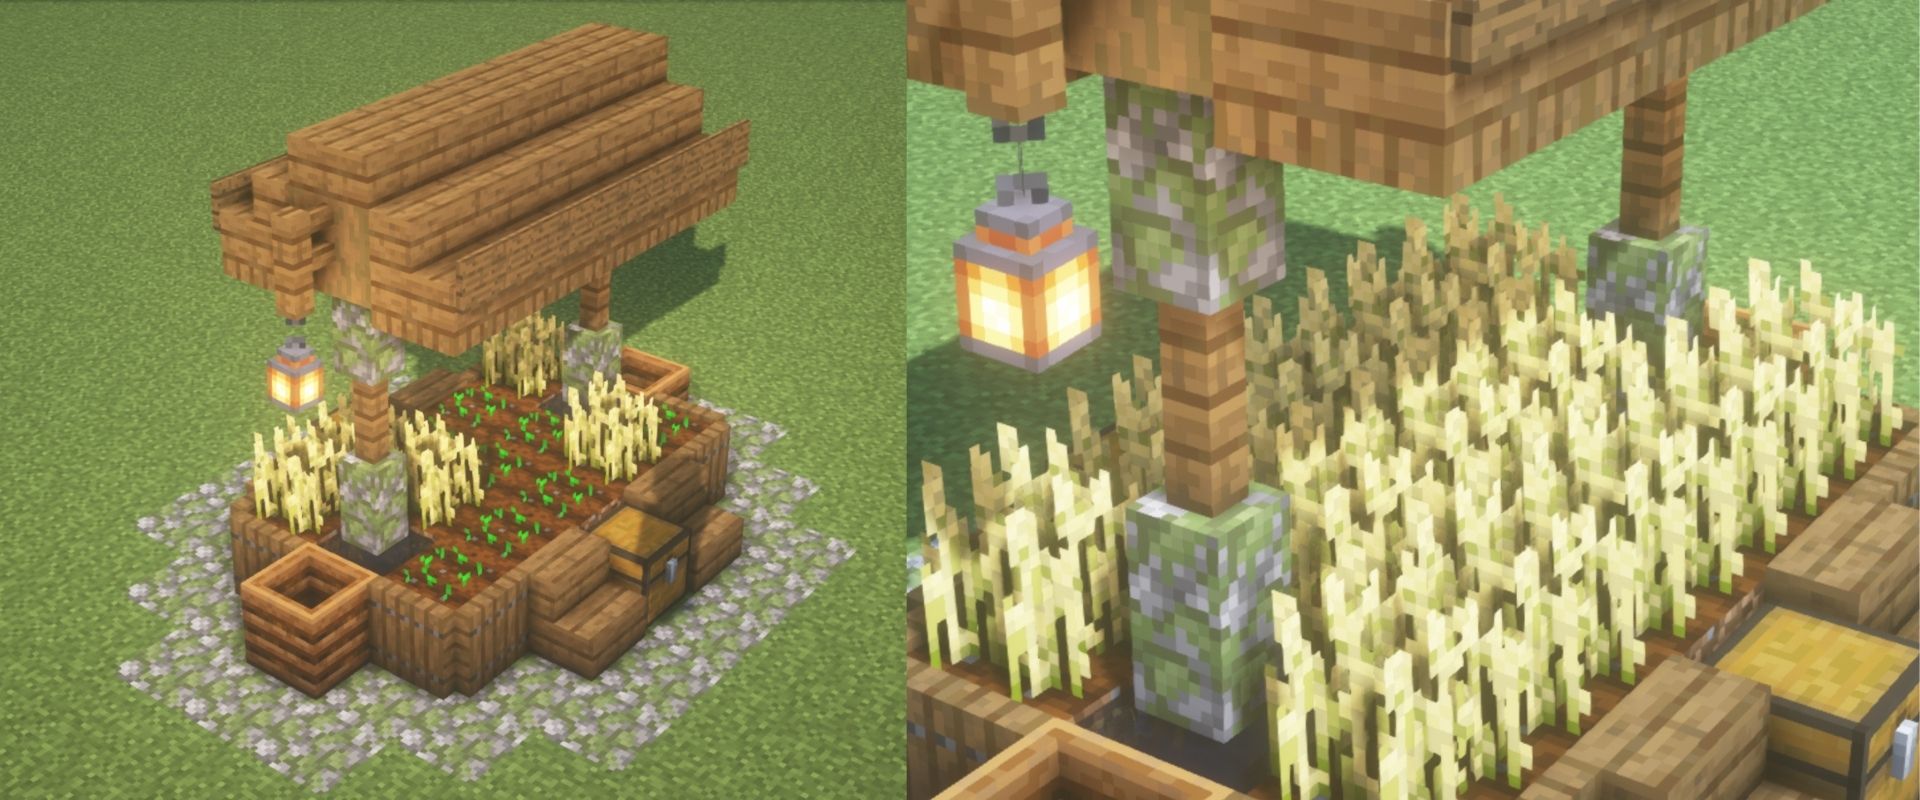
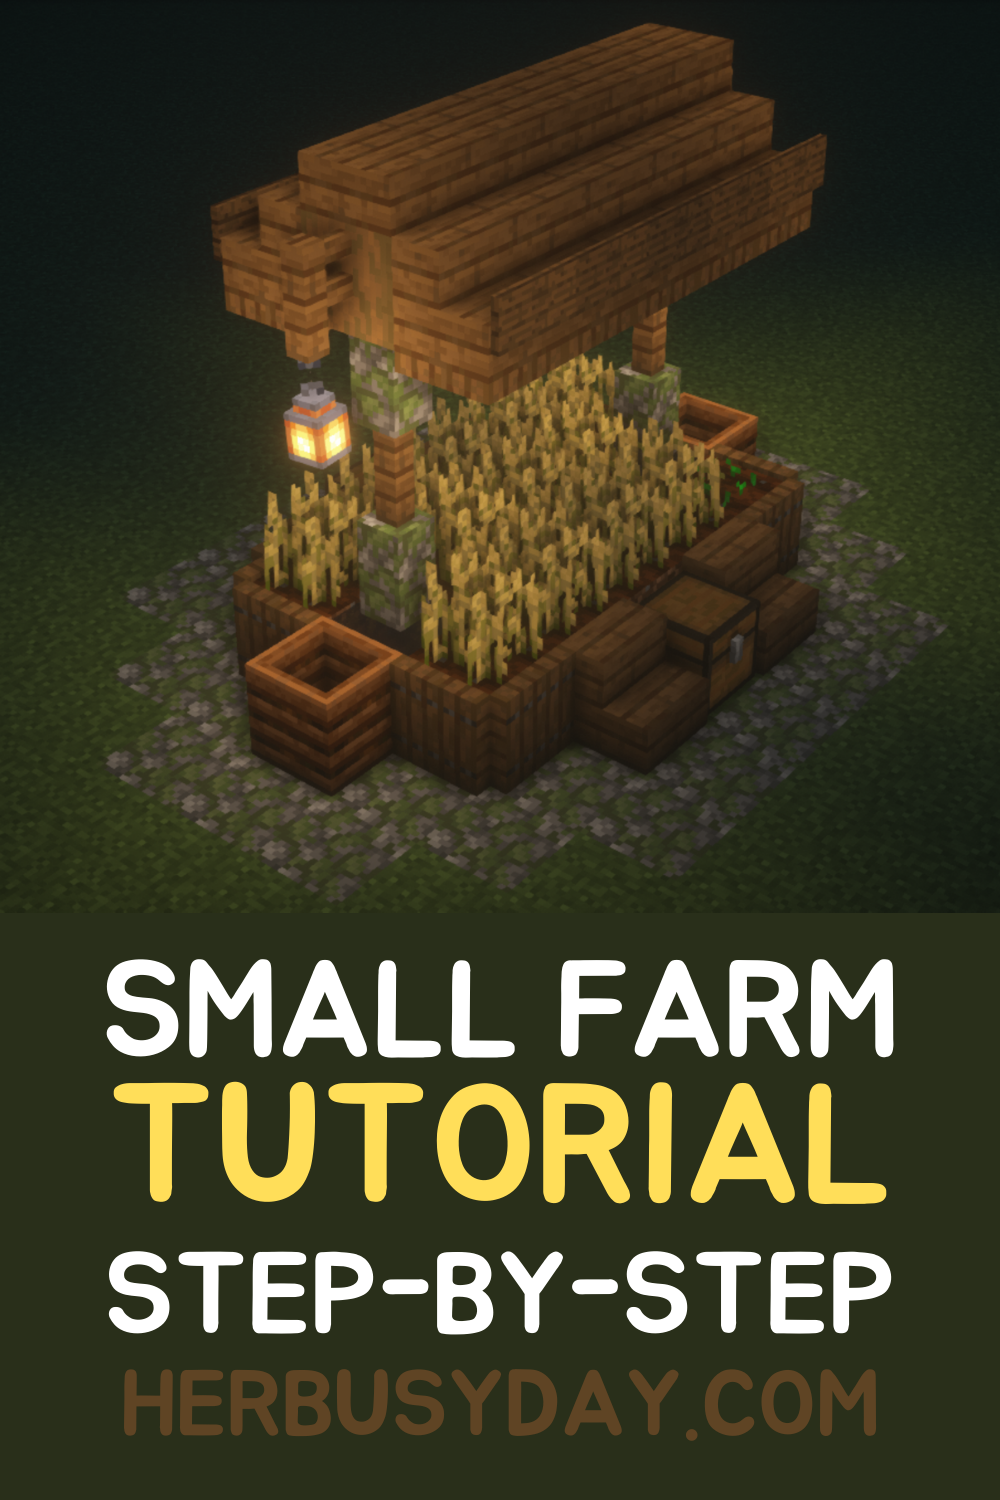
This step-by-step tutorial will guide you through building a small farm with a roof in Minecraft. For this farm, I planted wheat seeds and used spruce and mossy cobblestone for the most of the blocks. You will also need two chests, two composters, and two lanterns.

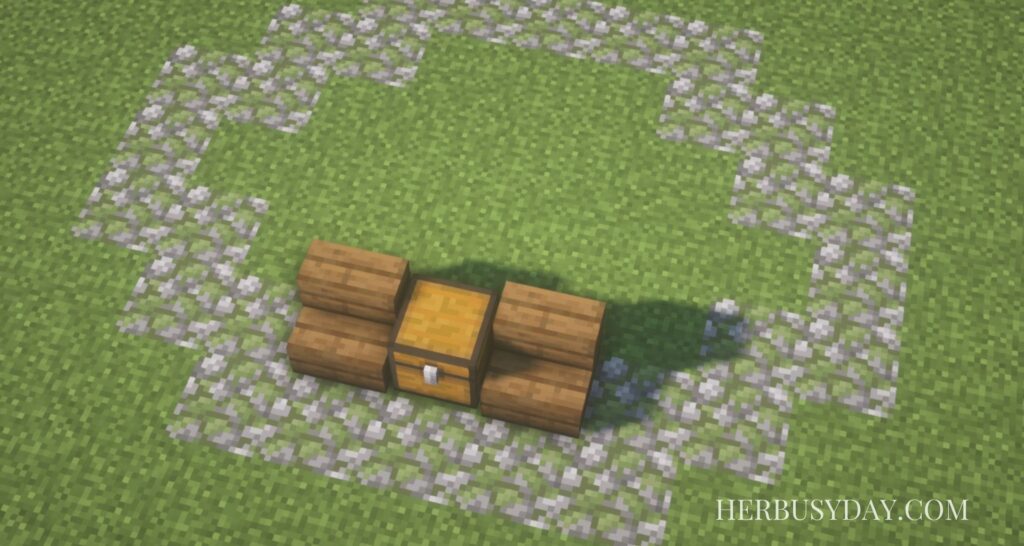
The first step in building a small, roofed farm is calculating its perimeter. If we add up all the blocks placed, the total is 28 blocks, so you will need 28 blocks of your choice (I used mossy cobblestone) for the perimeter of the farm.

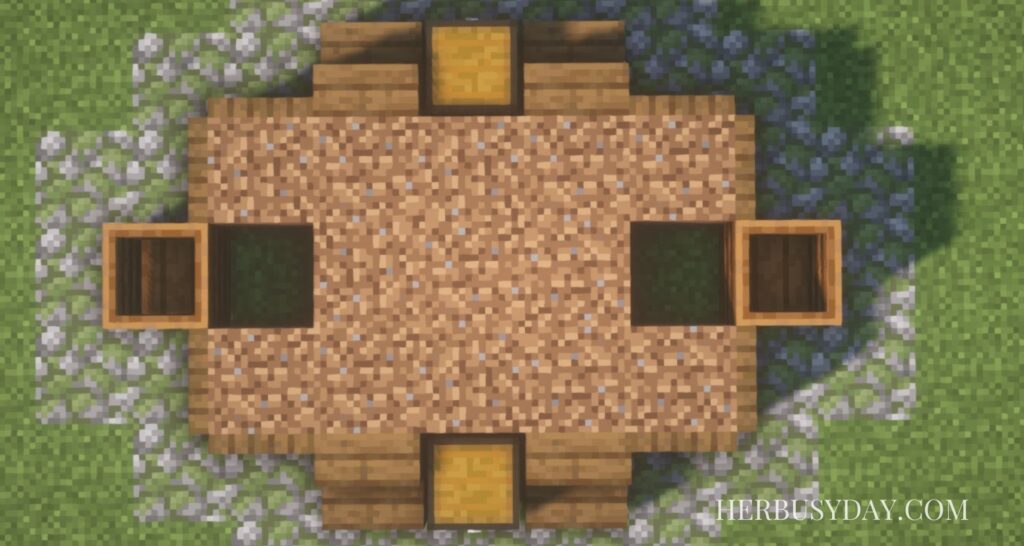
Three blocks inside the 5 block wide perimeter is where we will place our stairs and chest. Place one stair block, then one chest, then one stair block on the other side of the chest. Your placement should be stair-chest-stair. Duplicate the same pattern on the opposite side of the perimeter.
Next, we will place our trapdoors and composters. The trapdoors will form the four corners of our farm, and the compost bin will go in between the two trapdoors on the sides.
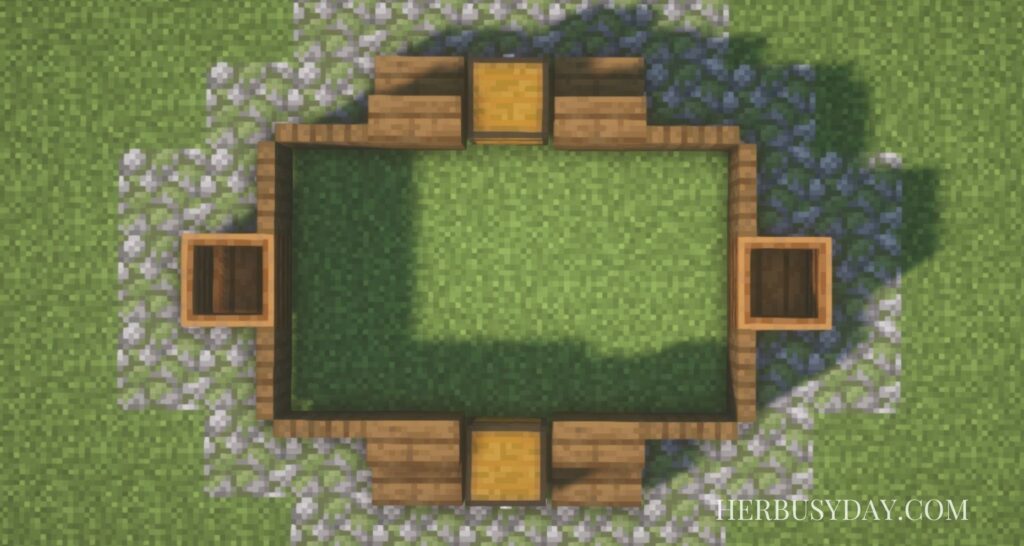
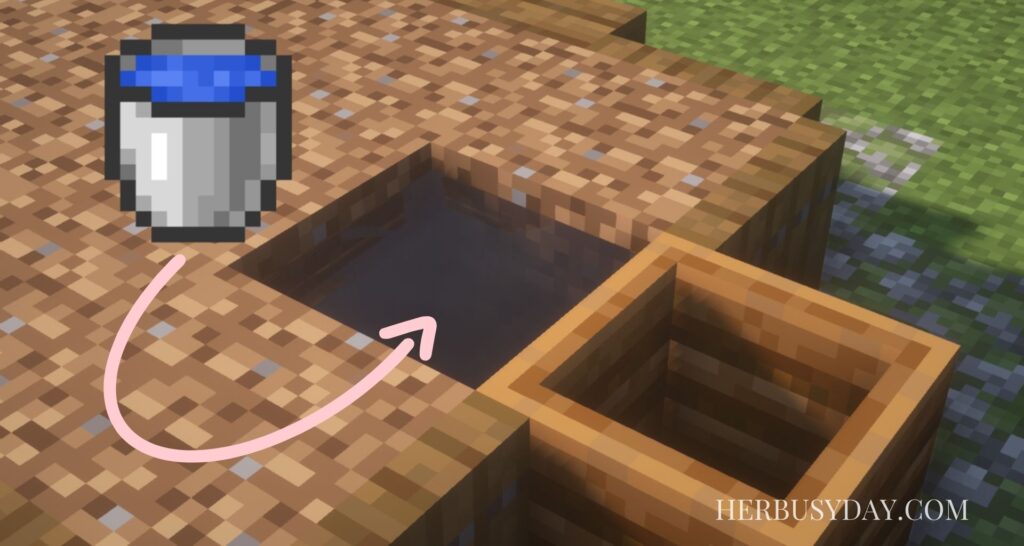
Our dirt blocks will go inside the trapdoors. Leave one block behind each composter open. This is where we will put our water to fertilize the soil.
After filling the empty block behind each composter with a water bucket, I decided it was a good idea to place wheat seeds on the farmland, but in retrospect, if you are building this in survival mode, it might be a better idea to save the planting for after everything is built.
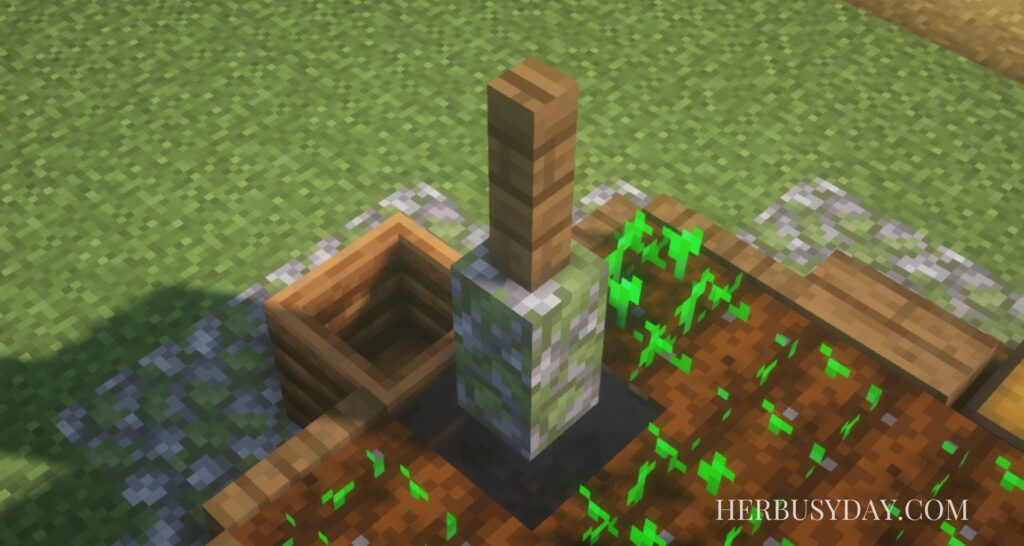
Next, we will begin to form the support for our roof. An easy way to build the support over our block of water is to place one mossy cobblestone wall over our composter. From here, we can attach a second mossy cobblestone wal over the block of water, after which we can get rid of the first one over the composter.


Place one spruce fence on top of the mossy cobblestone wall.
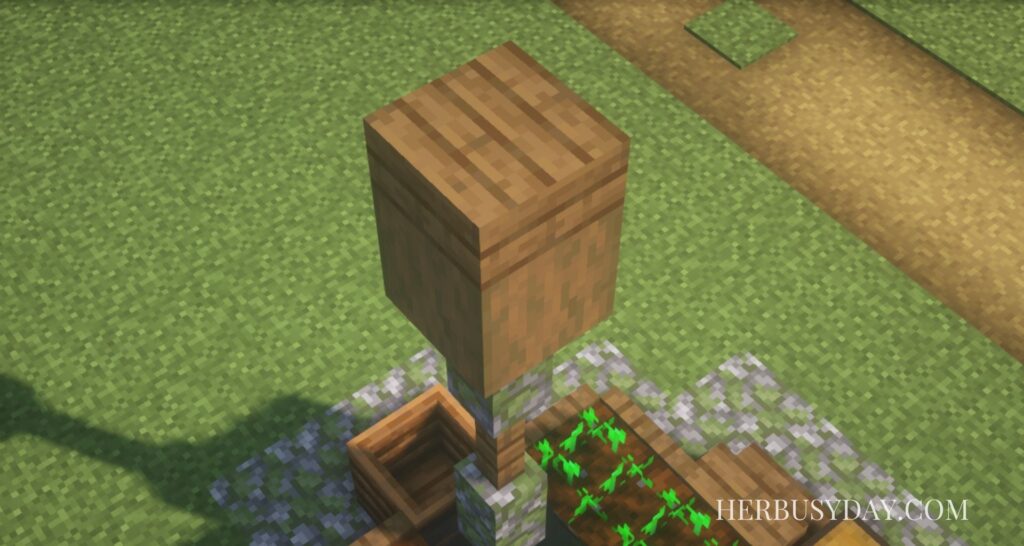
Then, on top of the spruce fence, place a mossy cobblestone wall.

Finally, on top of the mossy cobblestone wall, place one block of stripped spruce log. Repeat this pattern of mossy cobblestone wall-spruce fence-mossy cobblestone wall-stripped spruce log over the opposite block of water.

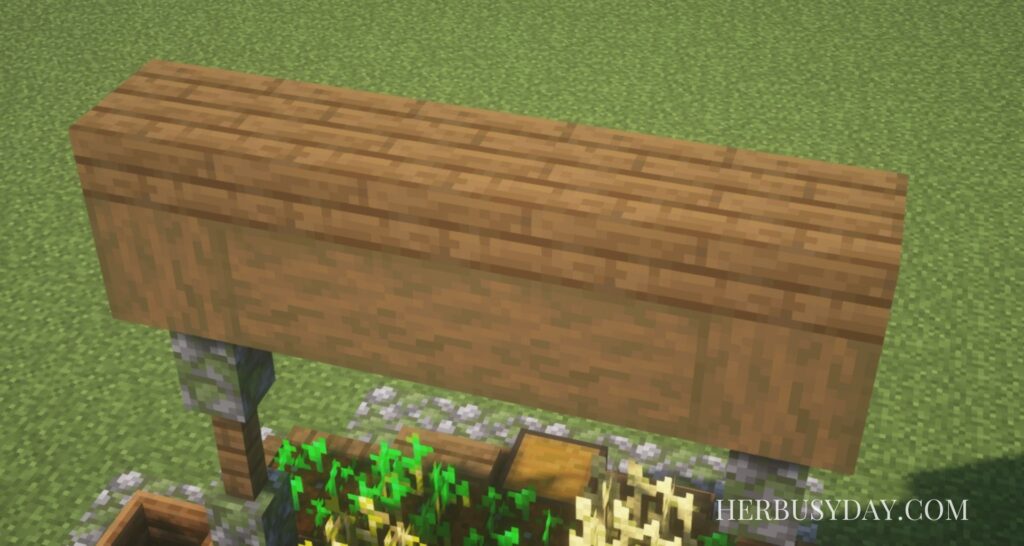
We will use spruce slabs to build the very top of our roof. Place one spruce slab on top of the stripped spruce log and continue placing spruce slabs the way down to connect and then cover the top of the opposite stripped spruce log.
Placing more stripped spruce logs in between the other two will help you place the slabs and eventually the stairs. You can use any type of block for this; it doesn’t have to be spruce. These blocks will be invisible from the outside once we finish our farm build.
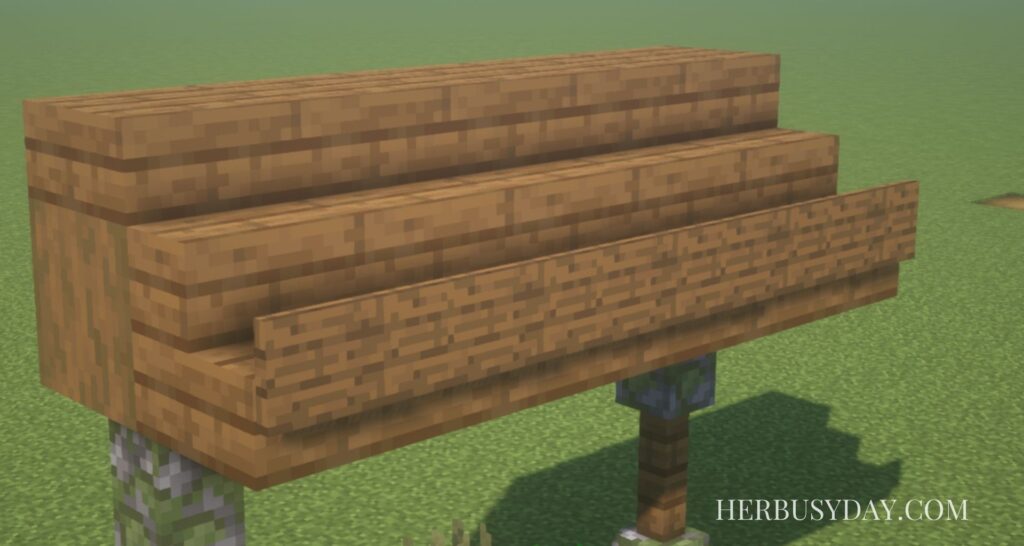
Place spruce stairs on the sides of the stripped spruce logs.

Then, place spruce signs in front of the stairs. Don’t write anything on the signs; the signs will be blank and only for decoration.
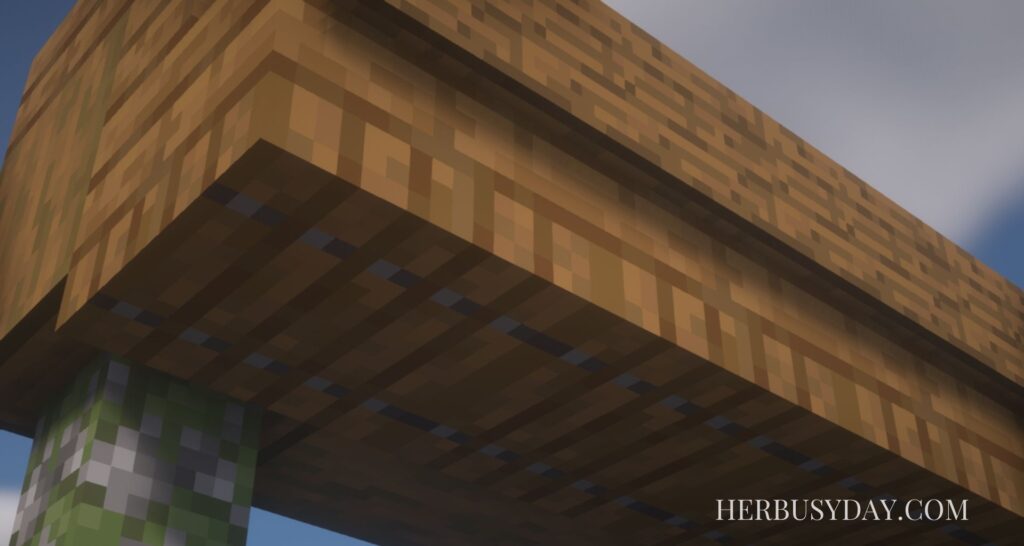
Underneath the stairs, we will place spruce trapdoors.
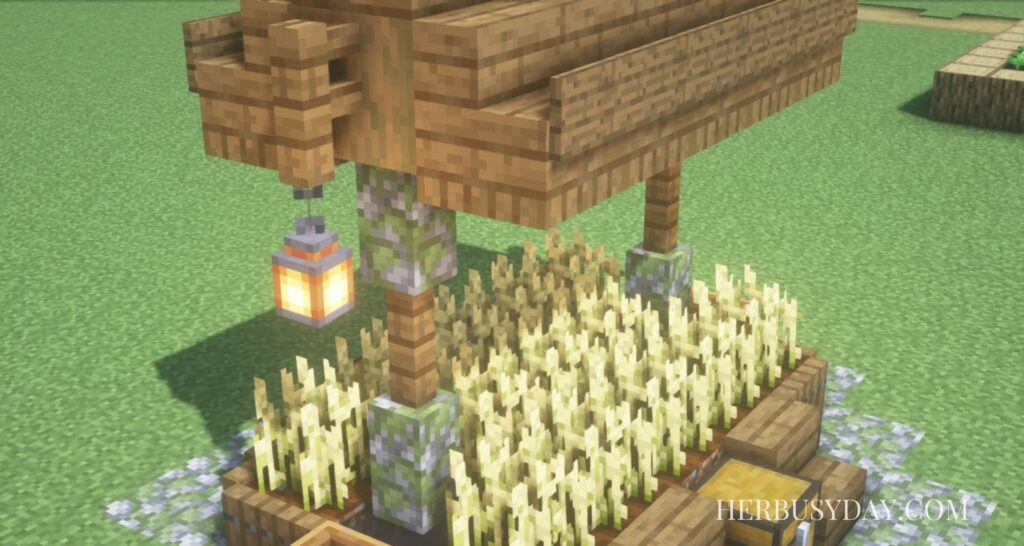
Place a spruce fence on the side of each stripped spruce log on each end of the roof. Underneath each fence, hang one lantern.

Complete the other side of the roof by placing more spruce stairs and blank spruce signs. Don’t forget to put trapdoors underneath the stairs, just as you did on the other side.
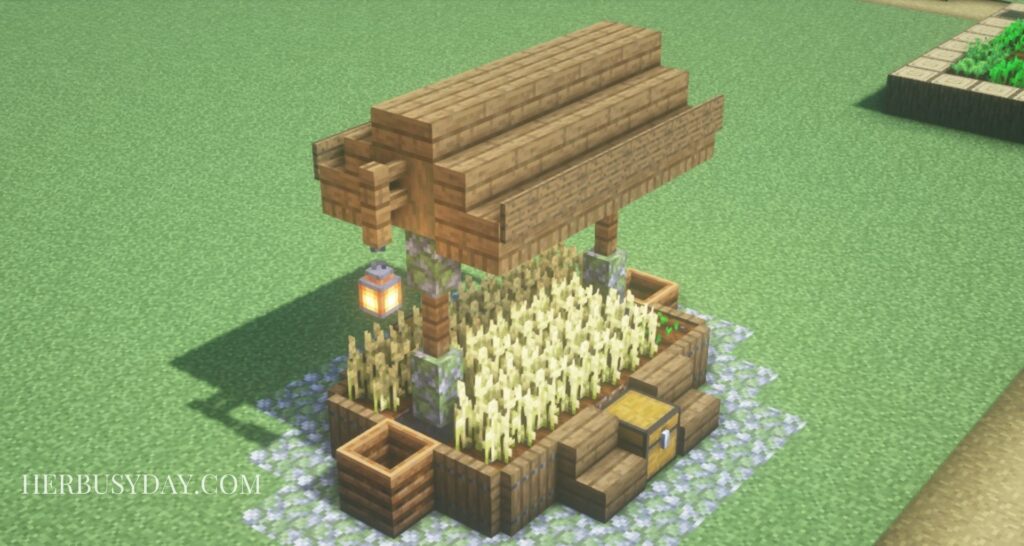
Congratulations, your farm is complete! I recommend practicing this build in creative mode first and then attempting to build it in survival. This build was inspired by one of my favorite Minecraft builders, disruptive. He posted four awesome ideas for small farms on Instagram, and this tutorial was inspired by his roofed farm. Leave a comment below if you have any questions.


Leave a Reply